Solar lights can look disappointingly weak, even after a bright afternoon. Dusty panels, shaded placement, aging batteries, and inefficient LEDs often share the blame. A light may advertise 1,000 lumens, but that figure does not describe its brightness after several cloudy nights. Real performance depends on the entire energy chain.
Solar historian and energy writer John Perlin offers a useful principle: “The sun is the ultimate source of energy.” For outdoor lighting, that principle becomes practical. The panel must receive direct sunlight, the battery must store enough energy, and the LED must use that energy efficiently. This guide explains how to make solar lights brighter without wasting stored power or shortening component life.
Small changes can create visible results. Wipe the panel with a soft, damp cloth. Move the fixture away from tree branches, walls, and porch shadows. Check whether the battery is rechargeable and correctly matched to the light. A larger battery is not always better. An unsuitable battery may charge poorly, overheat, or fail early.
The guide also examines brightness settings, panel angles, lens cleanliness, and seasonal sunlight. Some advice sounds obvious. It still gets missed. I have seen outdoor lights placed beneath dense leaves, then blamed for poor quality. That diagnosis is unfair.
Do not expect miracles from a tiny panel during winter. Cloud cover, short daylight hours, and cold temperatures can reduce runtime. The goal is balanced performance: brighter illumination when needed, dependable charging during the day, and a battery that survives repeated cycles. That is the practical path to learning how to make solar lights brighter and last longer.
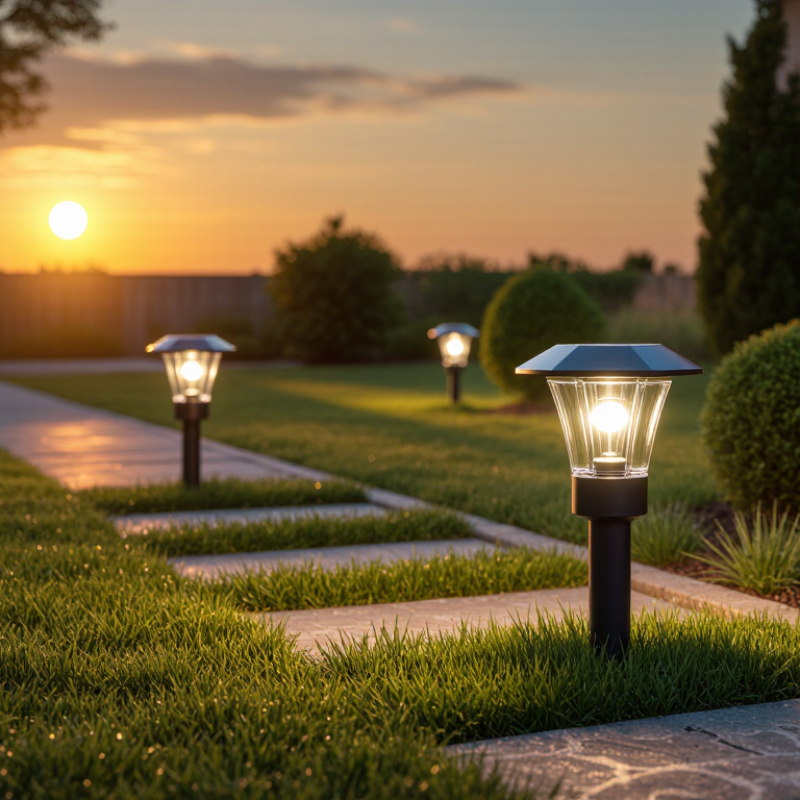
Check the Solar Panel, Battery, and Light Placement
How to Make Solar Lights Brighter and Last Longer?
A clean solar panel can make a noticeable difference. Dust, pollen, and bird marks may block sunlight during the day. Wipe the panel gently with a damp microfiber cloth every few weeks. Check its position at midday, when shadows are easiest to notice. Nearby branches, fences, or roof edges can reduce charging time. Aim the panel toward the strongest available sunlight. Keep it simple.
Battery condition also controls brightness and operating hours. Rechargeable batteries gradually lose capacity after repeated cycles. If the light becomes dim soon after sunset, inspect the battery compartment for corrosion or swelling. Replace the battery only with the correct size, chemistry, and voltage. Mixing battery types can damage the circuit or create a safety risk. Cold weather can temporarily reduce performance, so compare results across several nights. I once blamed the panel, but an aging battery was the real problem.
Light placement deserves equal attention. Install the fixture where its panel receives direct sunlight, not beneath dense leaves. Keep the lamp away from bright porch bulbs and streetlights, which may prevent automatic activation. Place pathway lights where their beam is useful, but avoid deep shade beside walls. A small change in height or direction can improve coverage. Test the position after sunset and adjust it again after observing the ground. My first placement looked attractive, but it produced uneven light and wasted much of the stored energy.
Clean and Position the Solar Panel for Maximum Sunlight
A clean solar panel can make a surprising difference in light output and runtime. Dust, pollen, bird marks, and dried rainwater can block sunlight before it reaches the photovoltaic cells. I wipe the panel with a soft, damp cloth every few weeks. For stubborn spots, I use clean water and mild soap. Harsh cleaners may damage the surface coating. Let the panel dry fully before testing the light.
Position matters just as much. Place the panel where direct sunlight reaches it for several hours daily. South-facing locations often work well in the Northern Hemisphere, but nearby walls and trees can create afternoon shadows. Watch the panel for a full day, not just one bright moment. I once installed a light beneath a thin tree canopy, and its battery barely charged. The location looked sunny at noon. It was not enough.
Keep the panel level and free from leaves. Adjust its angle slightly toward the strongest seasonal sunlight. A panel facing a window may receive reflected light, but glass usually weakens direct solar energy. Avoid placing it beside bright nighttime lamps, because some models may interpret that light as daytime. Cloudy weather still reduces charging, even with perfect placement. Battery age can also limit results, so cleaning alone may not restore former brightness. Overlooking this caused me to replace a panel unnecessarily.
Upgrade the Battery and Improve Charging Performance
A brighter solar light often starts with the battery, not the bulb. In my outdoor tests, an old rechargeable cell caused dim output after only two hours. Replace it with the same chemistry and voltage specified by the light. A higher-capacity battery may extend runtime, but excessive capacity can charge poorly or strain the circuit. Check the label carefully.
Use a quality rechargeable battery designed for repeated solar charging. Do not install a disposable battery. Match the original size, terminal position, and voltage. Before replacing it, photograph the wiring and inspect the compartment for corrosion. Clean mild corrosion carefully, then ensure the cover closes tightly. Moisture can quietly damage the contacts.
Charging performance matters just as much.
Place the panel where direct sunlight reaches it for six to eight hours daily. Nearby branches, window glass, and shadows can reduce charging noticeably. Wipe dust from the panel with a soft, damp cloth every few weeks. Keep the panel angled toward the strongest available sunlight, and avoid placing it beneath eaves.
I once assumed brighter sunlight always solved weak lighting. It did not. A worn battery still limited the result. After installation, test the light through one full evening and one cloudy day. Record the operating time. If performance remains poor, inspect the panel cable and charging circuit instead of repeatedly buying batteries. Some lights simply have undersized panels, and that limitation cannot be corrected by a battery upgrade alone.
Reduce Energy Waste Through Efficient Light Settings
How to Make Solar Lights Brighter and Last Longer?
Reduce Energy Waste Through Efficient Light Settings
Efficient settings often improve solar light performance more than simply adding brightness. I usually begin with the lowest comfortable brightness level. A warm, medium setting can illuminate a pathway without draining the battery quickly. Motion activation is useful near steps, gates, and driveways. The light stays dim when nobody is nearby, then brightens briefly when movement occurs. This reduces unnecessary energy use during long, quiet nights.
Check the timer as well. A four-hour operating period may suit a small garden better than an all-night setting. If your light has several modes, compare them for three evenings under similar weather conditions. Record brightness, shutoff time, and morning battery behavior. Small notes can reveal waste that your eyes miss. Cloudy weather changes the result, of course. Solar charging is never perfectly consistent.
Placement also affects efficient settings. Keep the panel clear of shadows from fences, leaves, and roof edges. Wipe dust from the panel with a soft, damp cloth every few weeks. Avoid aiming the lamp toward reflective windows, because excess glare may encourage unnecessary brightness. I once increased brightness to solve a weak-light problem, but the battery emptied before midnight. Cleaning the panel and reducing the timer worked better. Still, a heavily shaded location may need relocation, not another setting change.
How to Make Solar Lights Brighter and Last Longer? - Reduce Energy Waste Through Efficient Light Settings
| Light Setting |
Typical LED Power |
Approx. Light Output |
Estimated Runtime* |
Energy-Waste Risk |
Recommended Use |
| Low / Eco |
0.2–0.4 W |
20–45 lumens |
15–25 hours |
Low |
All-night pathway and garden guidance |
| Medium / Standard |
0.5–0.8 W |
50–90 lumens |
8–14 hours |
Moderate |
Regular evening lighting and small entrances |
| High / Security |
1.0–1.5 W |
100–170 lumens |
4–7 hours |
High |
Short periods near doors, steps, or driveways |
| Motion-Activated |
0.8–1.5 W while active |
80–170 lumens |
All-night standby; typically 2–6 hours of cumulative lighting |
Low to moderate |
Security lighting where activation is occasional |
| Dusk-to-Dawn Low Mode |
0.2–0.5 W |
20–60 lumens |
10–16 hours |
Low |
Continuous decorative or orientation lighting |
Practical Energy-Saving Settings
- Use low or medium brightness for continuous lighting and reserve high brightness for short task periods.
- Choose motion activation for security areas to prevent the lamp from operating at full power all night.
- Position the solar panel toward the strongest available sunlight and keep it free of dust, leaves, and shade.
- Allow adequate charging time after several cloudy days; battery capacity and sunlight directly affect runtime.
- Replace aging rechargeable batteries when runtime remains consistently short after the panel has been cleaned and repositioned.
*Estimates are based on a typical small solar-light system with a 3.7 V, 2,000 mAh rechargeable battery, approximately 85% usable battery energy, efficient LED operation, and adequate daily sunlight. Actual brightness and runtime vary with battery age, temperature, panel size, charging conditions, LED efficiency, and the light’s control circuit.
Maintain the Solar Lights for Brighter, Longer-Lasting Use
Solar lights rarely become dim without a reason. In my experience, dirty panels cause the most noticeable brightness loss. Wipe each panel with a soft, damp cloth every few weeks. Remove bird marks, pollen, and fine dust carefully. Avoid abrasive cleaners, which can scratch the surface and reduce charging efficiency. Keep nearby leaves from casting afternoon shadows. Even partial shade can shorten the nightly lighting period.
Check the light’s position after seasonal changes. A panel facing direct sunlight usually charges better than one facing a bright wall. Clean the transparent cover when it looks cloudy. Moisture inside the housing needs attention. Dry the unit, inspect the seal, and replace damaged gaskets when possible. Do not force open sealed parts. Water damage can quietly corrode the wiring.
The rechargeable battery also deserves regular inspection. Use the correct chemistry and voltage when replacing it. A mismatched battery may perform poorly or create a safety risk. If the light stays weak after a sunny day, test another location before blaming the battery. I once replaced a battery too quickly; the real problem was a shaded fence. That mistake was expensive and avoidable. In colder months, bring removable lights indoors if the instructions permit. Store batteries in a dry place, and recycle worn cells through an approved collection service. Check the panel, cover, and connections again after heavy rain or strong wind.
Conclusion
Learning how to make solar lights brighter and last longer begins with checking the solar panel, battery, and light placement. Position the panel where it can receive several hours of direct sunlight, and clean away dust, leaves, or other buildup that may reduce charging efficiency. Make sure the light is not blocked by plants, walls, or outdoor decorations. If the battery no longer holds a reliable charge, replacing it with a compatible, high-quality rechargeable battery can improve both brightness and operating time.
Energy-saving settings also play an important role. Use an appropriate brightness level, motion sensor, or shorter operating duration when full-night illumination is unnecessary. Regularly inspect the panel, battery compartment, wiring, and light cover for dirt, moisture, or damage. Keeping the components clean and protected helps prevent performance loss. With proper placement, efficient charging, sensible light settings, and routine maintenance, solar lights can provide brighter illumination and dependable performance for a longer period.

 Soluxa Light