Outdoor solar lights can look effortless, but their performance depends on small details. Dust on a panel, a shaded patch of garden, or a tired rechargeable battery can leave a pathway dark before midnight. This 2026 guide explains how to maintain outdoor solar lighting with practical checks for panels, batteries, fixtures, and placement. The aim is simple: steady light, fewer premature replacements, and safer evening walkways. Small habits matter.
Energy-efficiency expert Amory Lovins is often associated with the principle, “The cheapest energy is the energy you don’t use.” For solar lights, that idea points to sensible care: keep panels exposed to sunlight and clean, and replace parts only when inspection suggests they are failing. Check for cracked housings, loose connections, corroded contacts, and branches that have grown over the panel. A soft cloth and mild soapy water are usually enough for routine cleaning; harsh abrasives can scratch the surface. Battery replacement may help, but not every dim light has a bad battery. Sometimes the panel is shaded, or the fixture simply needs more direct sun. That is easy to miss.
Maintenance advice can sound more certain than real gardens allow. Weather, tree growth, and product design all affect results, so a single schedule will not fit every yard. The sections ahead offer a reliable starting point, while encouraging you to observe how your own lights behave after cleaning, repositioning, or replacing a worn component.
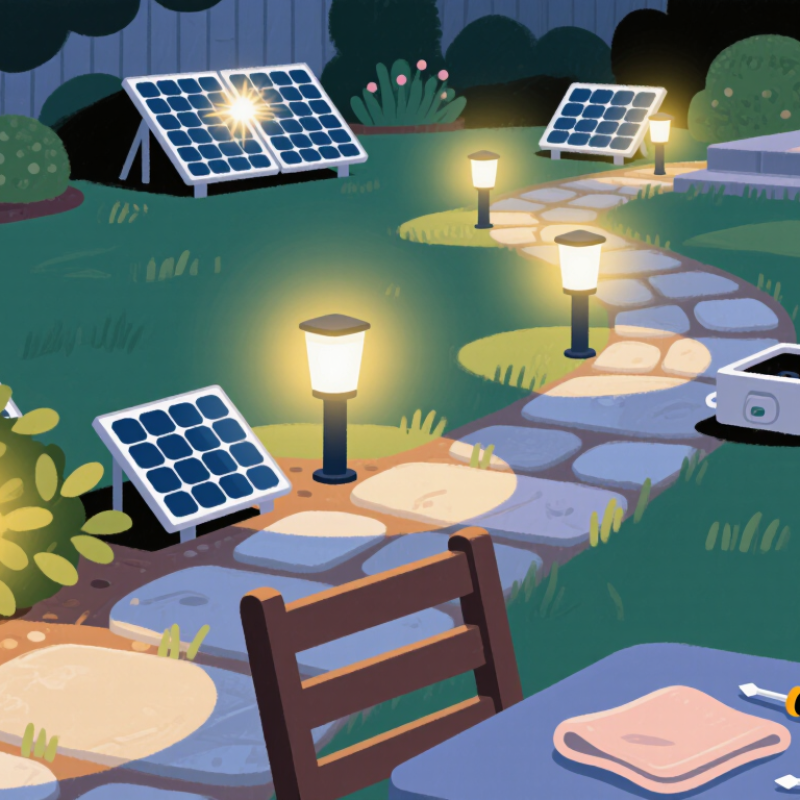
Outdoor solar lights contain several parts that work together: a photovoltaic panel, rechargeable battery, LED, control circuit, and protective housing. The panel converts daylight into electricity, while the circuit manages charging and switches the light on after dark. A motion sensor may also control when the LED turns on. Each part affects performance.
Dust, pollen, and bird droppings can reduce the panel’s ability to collect sunlight. Wipe it with a soft, damp cloth, then check that nearby leaves or branches do not cast shade. The battery stores energy for nighttime use, but its capacity can decline with age and repeated charging. Cold weather may also shorten its nightly run time. The LED usually needs little attention, though flickering can point to a weak battery or loose connection. Check the housing and seals for cracks or trapped moisture. Small details matter.
Tips: Clean panels every few weeks during dusty seasons. Keep water away from open compartments, and follow the light’s care instructions before replacing a battery. If a light still dims after cleaning and a full sunny day, inspect its battery and connections. These checks are easy to overlook.
A dim solar light often has a simple cause: dust, shade, or a loose connection. Check the panel every few weeks, especially after windy weather. Wipe it with a soft, damp cloth, then dry it before nightfall. Avoid abrasive pads; small scratches can reduce how much light reaches the cells. Also look for new shade from branches or nearby plants. A panel that gets less direct sun may need a clearer spot.
Look closely. With the light switched off, inspect the battery compartment for moisture, corrosion, or cracked seals. Follow the fixture’s instructions when replacing rechargeable batteries, and match the specified type and size. Do not mix old and new cells. If a battery looks swollen or damaged, stop using it and follow local disposal guidance. I can’t always tell whether a weak light means a failing battery or simply a cloudy week, so compare its performance over several sunny days.
Check the wiring and contacts for fraying, dirt, or looseness. Gently reseat accessible plugs, but do not pull on thin wires. Keep the light off while cleaning its connections, and let damp parts dry fully before turning it back on. A quick check can miss a tiny crack. Recheck after heavy rain, when small faults may become easier to spot.
Outdoor solar lights collect pollen, dust, and bird droppings, which can block sunlight from reaching the panels. Clean them when the fixtures are cool, preferably on a cloudy morning. Use a soft microfiber cloth dampened with water and a little mild soap. Wipe gently, then remove soap residue with a clean, damp cloth. Less pressure is safer.
Avoid abrasive pads, strong solvents, and high-pressure sprays. They may scratch the panel or push water past seals. For stubborn dirt, let a damp cloth rest on the spot briefly before wiping; don’t scrape it with a fingernail or tool. Check the care instructions, since panel materials and fixture designs vary. Use a light touch.
Wipe the lamp covers and housings with the same gentle method, paying attention to seams and openings. Keep water away from exposed wiring, and don’t submerge the fixture. Dry everything with a soft cloth before switching the lights back on. It is easy to miss grime around the panel’s edge, so inspect it from a few angles. A slightly imperfect clean is better than a scratched panel.
Test each light after a clear day, with its panel clean and unobstructed. At dusk, note brightness, then check whether the lamp stays lit through the usual evening hours. Repeat the test. A cloudy week can make a healthy light seem faulty, so avoid judging it from one night. That test is not perfect, but it beats guessing. If runtime has sharply fallen, inspect the battery compartment for corrosion, loose contacts, or moisture before replacing anything. Use the battery type and voltage specified for the fixture, and replace the set rather than mixing old and new cells.
Separate panel wear from LED failure. NREL’s 2013 review of photovoltaic-module studies reported a median degradation rate near 0.5% per year; small garden-light panels may behave differently, but dirt, shade, and cracks can cause more immediate losses. Clean with a soft cloth and check for cloudy covers or damaged wiring. The U.S. Department of Energy lists typical LED product lifetimes of 25,000–50,000 hours, though that figure does not guarantee a whole solar fixture will last as long. If a light still dims after a full charge and sound battery replacement, a failed LED or corroded connection may make replacing the fixture more practical. Keep notes. They help, even when the result is a little messy.
Example test readings for one light, measured under consistent conditions after a full charge. Clean the panel first; if runtime remains low, inspect and replace a worn rechargeable battery with a compatible type. Results vary with sunlight, temperature, battery condition, and light settings.
Place each light where its panel receives several hours of direct sun, not just bright shade. Watch the spot from morning through late afternoon; a roof edge or leafy branch can cast a thin shadow. Even partial shade matters. Check the panel at dusk and again after a clear day. Comparing its exposure with the light’s evening performance can help distinguish poor placement from cloudy weather. A location that worked in June may disappoint in December, when the sun sits lower and days are shorter.
Recheck placement as seasons change. Trim back plants only when appropriate, and move portable lights away from areas where snow piles up or runoff drips from a roof. After snowfall, clear the panel gently with a soft cloth once conditions are safe; avoid scraping ice, which can damage its surface. In winter, angle adjustable panels toward the available sun, following the maker’s guidance. I sometimes overlook how quickly a small shrub grows, so a brief monthly check is useful. Heavy cloud cover still limits charging, even with careful positioning. On very shaded days, lower brightness settings, if available, may help lights run longer.
A solar panel collects daylight, and a rechargeable battery stores energy. A circuit controls the LED, while a protective housing shields the parts.
Clean it every few weeks during dusty seasons. A soft, damp cloth can remove pollen, dust, and bird droppings.
Use water and a little mild soap on a microfiber cloth. Wipe gently, then remove soap residue with a clean, damp cloth. Less pressure is safer.
Avoid abrasive pads, strong solvents, and high-pressure sprays. They can scratch the panel or push water past its seals.
Choose a spot with several hours of direct sunlight. Check for thin shadows from roof edges or branches throughout the day.
Shorter days, lower sun, cold weather, and cloud cover can all reduce charging. Snow or runoff may also affect the panel’s location.
Dirt, poor placement, a declining battery, or a loose connection may be responsible. I sometimes blame the weather too quickly; checking the panel first is more useful.
Move lights away from snow piles and roof runoff where possible. Clear snow gently when conditions are safe, and keep water away from open compartments.
How to maintain outdoor solar lighting begins with understanding how its solar panel, rechargeable battery, light source, and electrical connections work together. Regularly inspect these parts for dirt, corrosion, loose connections, cracks, or other signs of wear. Clean panels and fixtures gently with a soft cloth and mild soapy water, then dry them thoroughly; avoid abrasive tools and harsh cleaners that could damage surfaces.
To keep lights performing well, test them after cleaning and check whether they charge during the day and illuminate reliably at night. Replace worn batteries or damaged components with compatible parts when needed. Also review each light’s placement: panels need access to direct sunlight, while fixtures should be positioned securely and away from unnecessary shade. Adjust placement as nearby plants grow or seasonal sunlight changes, and clear away snow, leaves, or debris so the system can continue working efficiently throughout the year.

Soluxa Light